
I’ve been painting for a long for the majority of my life now mainly miniature tabletop figures and scenery but for a long time I also done model kits and remote-controlled cars. Over the past 6 years this also turned to 3d prints which soon took over. The one thing I have been constantly asked is how do u paint? Can u show me how to paint? Is there a video u can recommend?
So, I finally decided that now the website is up its time to start a series of how articles. I have decided I’m going to do an article for each step and each technique to hopefully help some of the community that want to learn to paint and for some that want to learn new techniques. Reprapper sponsored me some filament for a large project which is perfect for me to start this series.
You can purchase Reprapper filament direct from the site Reprapper.
To learn to paint practice is key but just like printing your first layer is the key to success so this article is on priming.
Why prime you might be asking!
There are a few reasons priming is important and especially on prints. The first if to create a strongly keyed layer primer keys to the plastic to create a secure base layer which assists in preventing you paint layers from flaking off

A primed layer will also create an even colour across your print which is especially useful on multipart prints that you may have had to use different colour filaments on.
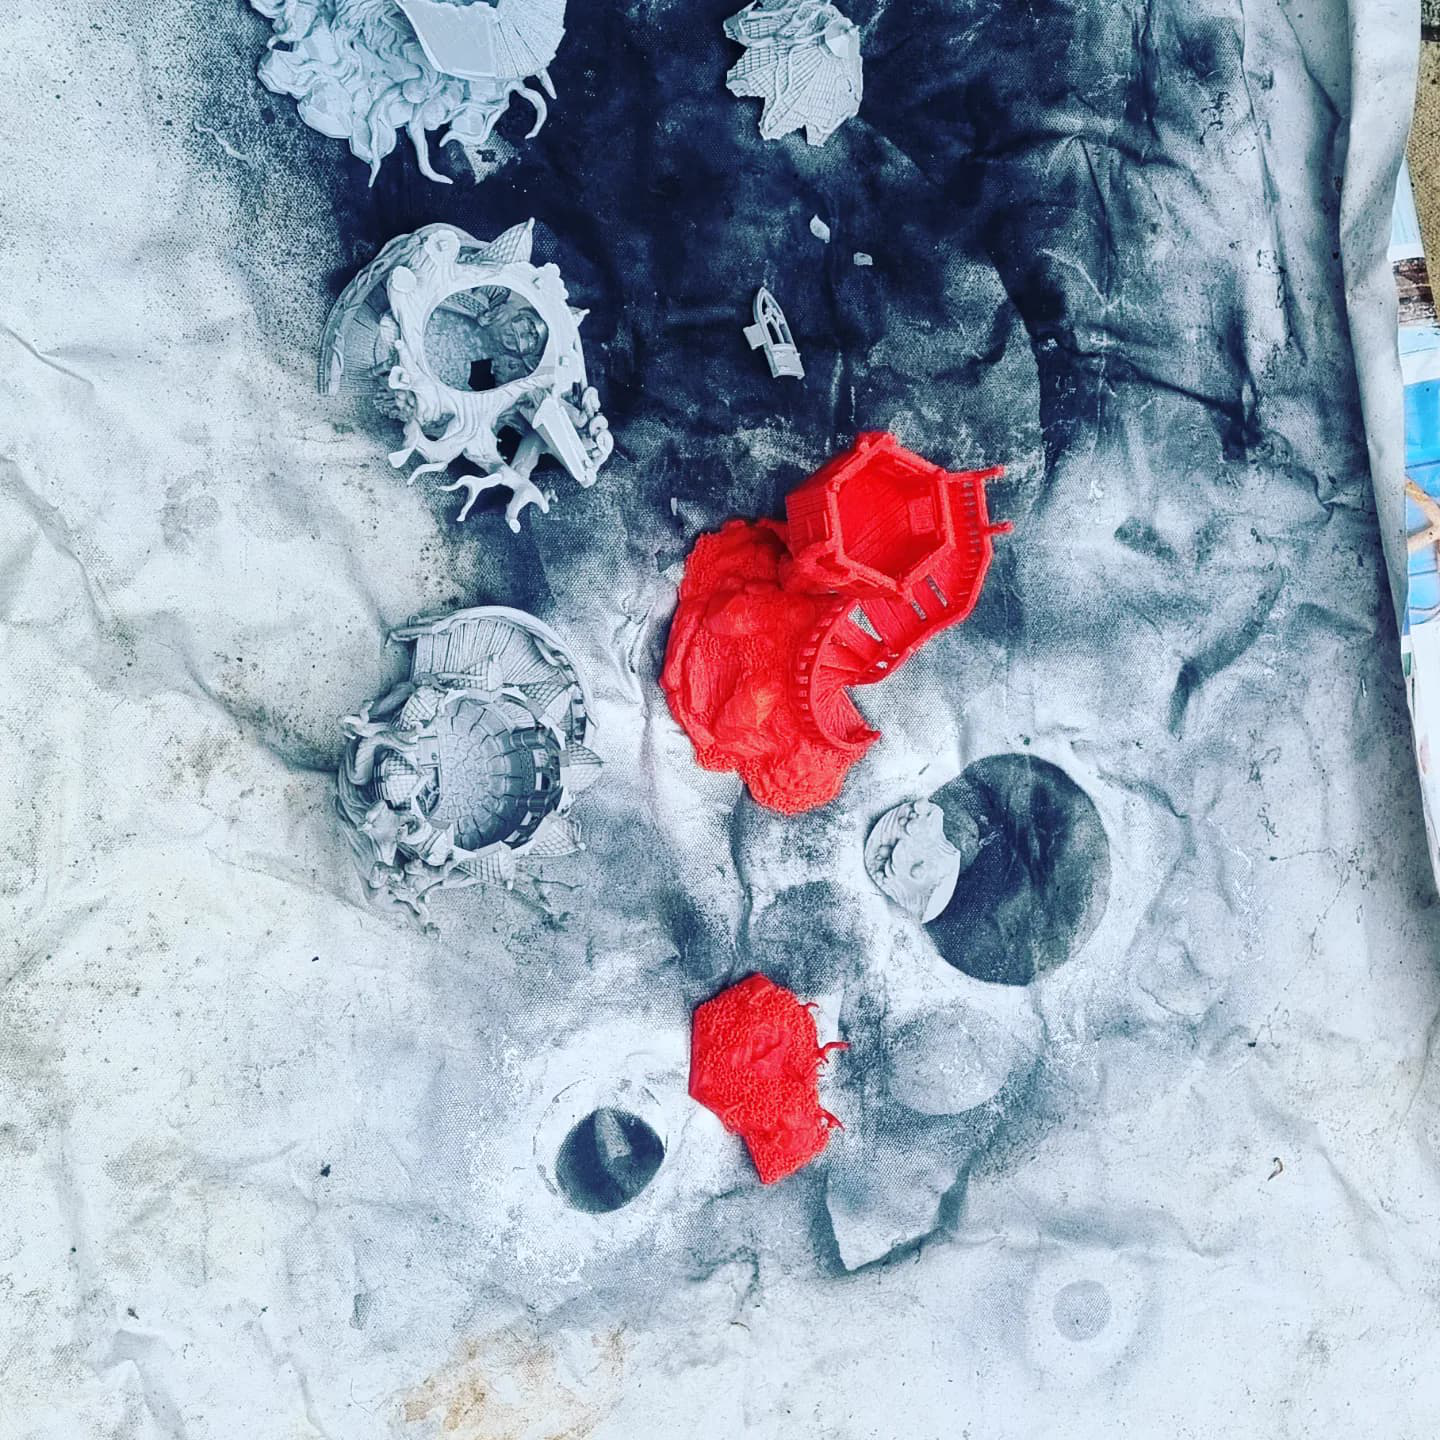
Generally, 3 different colours are used to prime each are have a use and are used depending on what the end colour is desired.
For instance, if I wished to have a final Finnish of bright yellow I would start with a white primer as yellow is a thin coverage paint in most cases.
If the Finnish was due to be medium blue let’s say then I would use a black.
It I was going for a very technical Finnish I would actually use both black and white. For this technique I would prime the entire model in black so the model had a nice even coverage. Then I would pick the angle that a light source would come from so let’s say for this case the sun at mid-day. So for this the sun directly above. Soe this I would hold the white directly above and dust a layer of white directly down. This will highlight just the raise highest points and instantly highlight the areas that need to be painted lighter than those left in pure black.

Clean your print
Weather it’s a resin or fdm print I personally wash the print in warm soapy Warter to ensure and oils etc. are removed from the surface and allow to dry this eliminate issues with the primer laying properly on the surface of the model.
Applying primer
There are a few ways to apply primer my personal choice is by using rattle can primers my go to is the army painter brand as there specially formulated for high end miniature painting but there are hundreds of primers to choose from auto primers to specific model primers. Make sure not to hold the model to close u don’t want the paint to lay to thick causing loss of details or running.
On average and in most cases a distance of 6 to 12 inches using quick busts is a good formular to prime your project. Make sure to lay a quick burst and move to the next section

Another option is airbrush primer this will obviously mean u need an airbrush and compressor set up. This option allows for a lot more control and precision on where you lay the primer and is a great option especially if you’re working on smaller models.
Finally, is the brush option the one thing with this option to be mindful off is not to lay the paint on too thick as you will fairly quickly stat to mask/lose details in your model. Its far better to have multiple thinned layers than 1 thick coat.

After you have laid the primer and are happy that you have covered your print/model allow to dry completely follow the guidelines and dry times of the primer you are using. Once completely dried you have successfully primed your model and you’re ready to paint.
The next article in painting corner we will take a look at blocking in/base colour.
I hope this has helped and will aim to have the next steps up very soon
I am definitely bookmarking this website and sharing it with my acquaintances. You will be getting plenty of visitors to your website from me!